Slackdough breads incorporate a higher percentage of water into the standard ratios of flour-water-salt-yeast--which means the extra moisture in the air on humid days isn't going to make much of a difference to your final dough. In order to develop the gluten, slackdoughs aren't so much 'kneaded' as they are mixed or folded. A lot. The final dough will be more like a thick, sticky batter instead of the smooth round ball you want when making breads like traditional whole-wheat or sourdough. It's possible to do this kind of mixing by hand, but it's generally recommended that you use a heavy-duty stand mixer. Plus, a stand mixer means you can lounge by the counter with your favorite cool summer beverage in hand, taking delicate sips as you watch the mixer do the work for you.
For my first foray into slackdoughs, I chose the recipe for "Pain a L'Ancienne" from The Bread Baker's Apprentice by Peter Reinhart. This recipe is a bit unique in that after the initial mixing of ingredients and a bit of mixer-kneading, you immediately cover the dough and put it in the refrigerator to slowly rise ("retard") overnight. This means that just as the yeast is waking up and starting to go to town, the cold in the fridge sets the yeast back at a stage of near-dormancy. Meanwhile, the amylase enzymes (watch out--vocab word!) are breaking down the starch in the flour into sugar. The next morning, when you take the dough out of the fridge and let it come to room temperature, the yeast sees all that sugar and thinks it woke up in heaven. Since not all the sugar gets converted into carbon dioxide or alcohol by the yeast, the final bread has a slightly sweet taste. (P.S. This method is also called "delayed-fermentation".) This dough can be shaped like baguette, ciabatta, pugliese, or any other shape your heart desires (except a sandwich-style loaf--they don't do so well with this dough). I decided to try a baguette-style loaf. Here's the full scoop:
Pain a L'Ancienne
Kudos go to Peter Reinhart in The Bread Baker's Apprentice for this recipe.
Ingredients:
6 cups (27 oz) unbleached bread flour
2 1/4 teaspoons (.56 oz) salt
1 3/4 teaspoons (.19 oz) yeast (instant yeast is preferred--if you use active dry yeast, let it dissolve for a few minutes in a few tablespoons of room-temperature water before adding the rest of the ingredients)
2 1/4 cups to 3 cups (19-24 oz) water, ice cold
Day 1 (the night before):
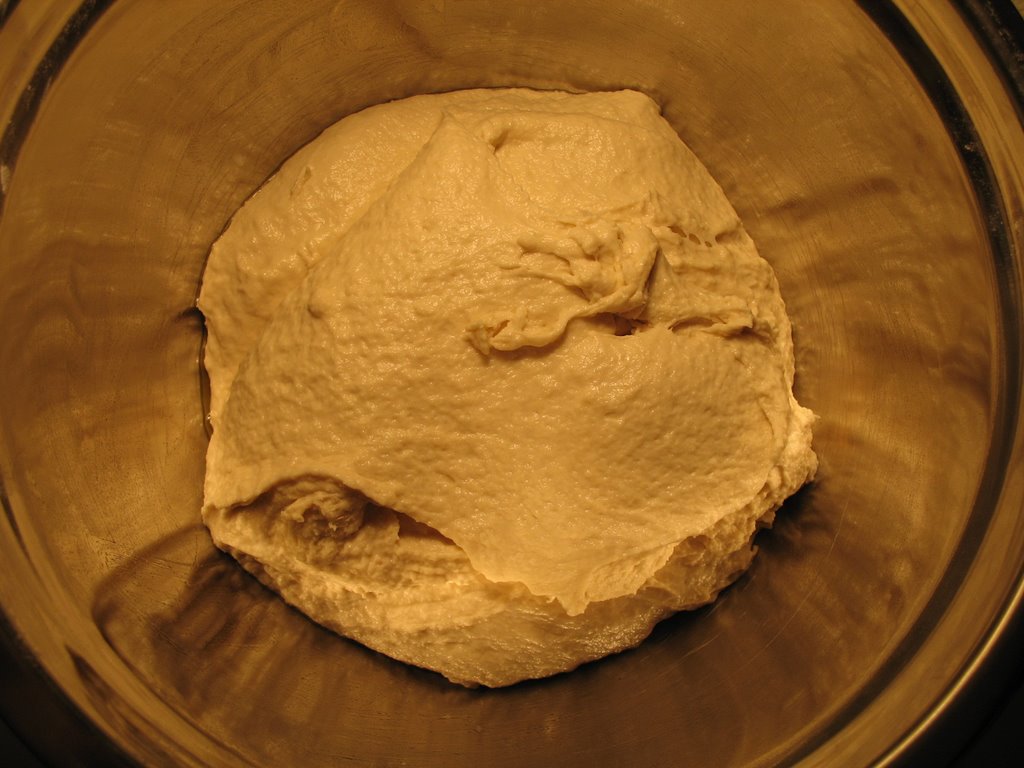
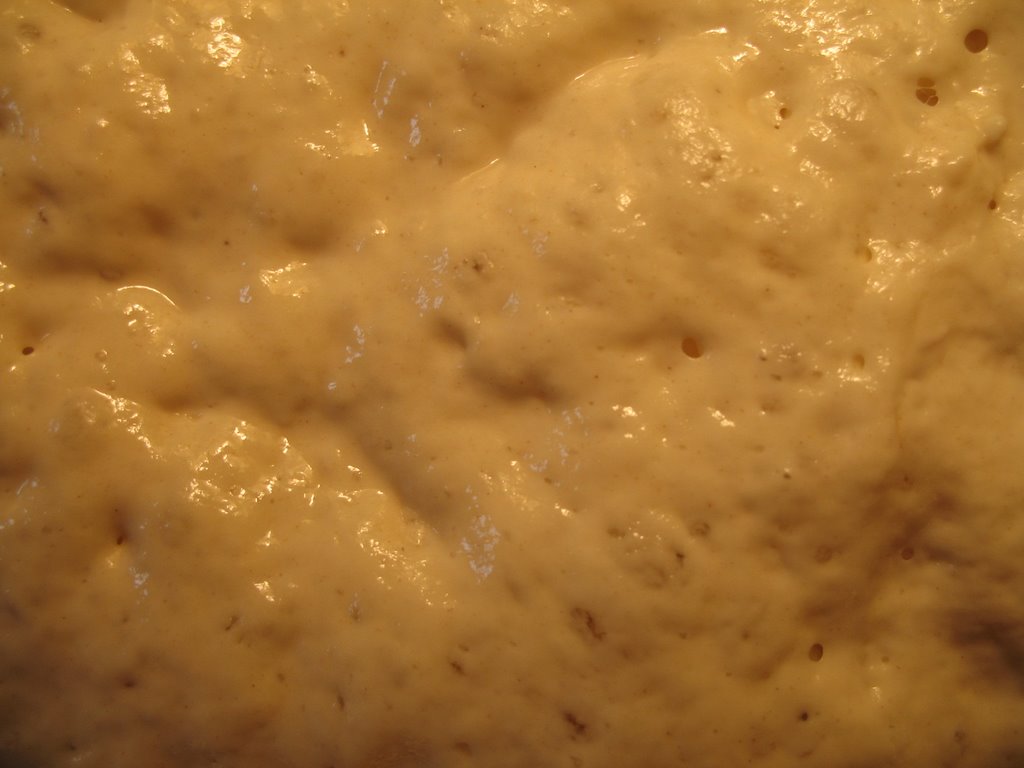
 Combine flour, salt, yeast, and 19 oz of water in the bowl of a stand mixer with the dough-hook attachment and mix for 2 minutes on a low speed. Once all the ingredients are combined, mix for 5-6 minutes on a medium speed. (*Note: Reinhart's recipe says to use the paddle attachment for the initial mixing and then switch to the dough hook for the rest of the mixing. I thought that was a little needless, so I used the dough hook for both stages.) The dough should stick to the bottom of the bowl, but release from the sides of the bowl. If it's not releasing, sprinkle a little more flour until it does. On the other hand, if the dough is really stiff and is releasing from the bottom of the bowl as well, dribble a little water onto it until you reach a happy medium. (See photos to the right.)
Lightly oil a large bowl and transfer dough into this bowl. Cover with plastic wrap and refrigerate immediately (overnight or for at least 8 hours).
Day 2:
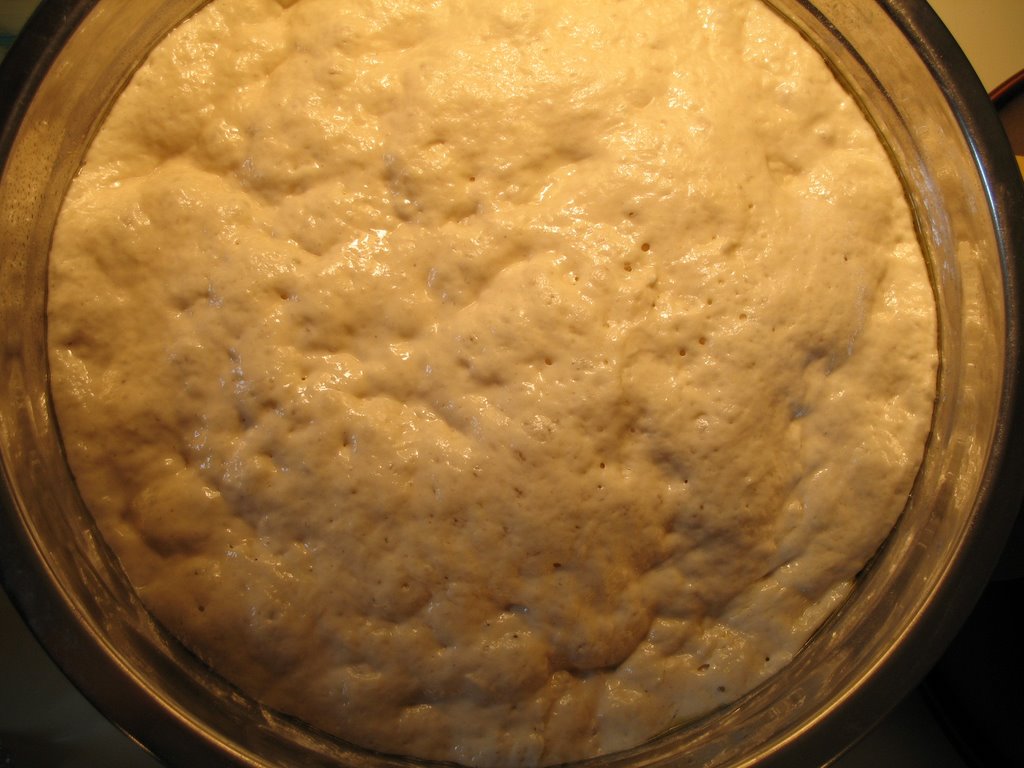
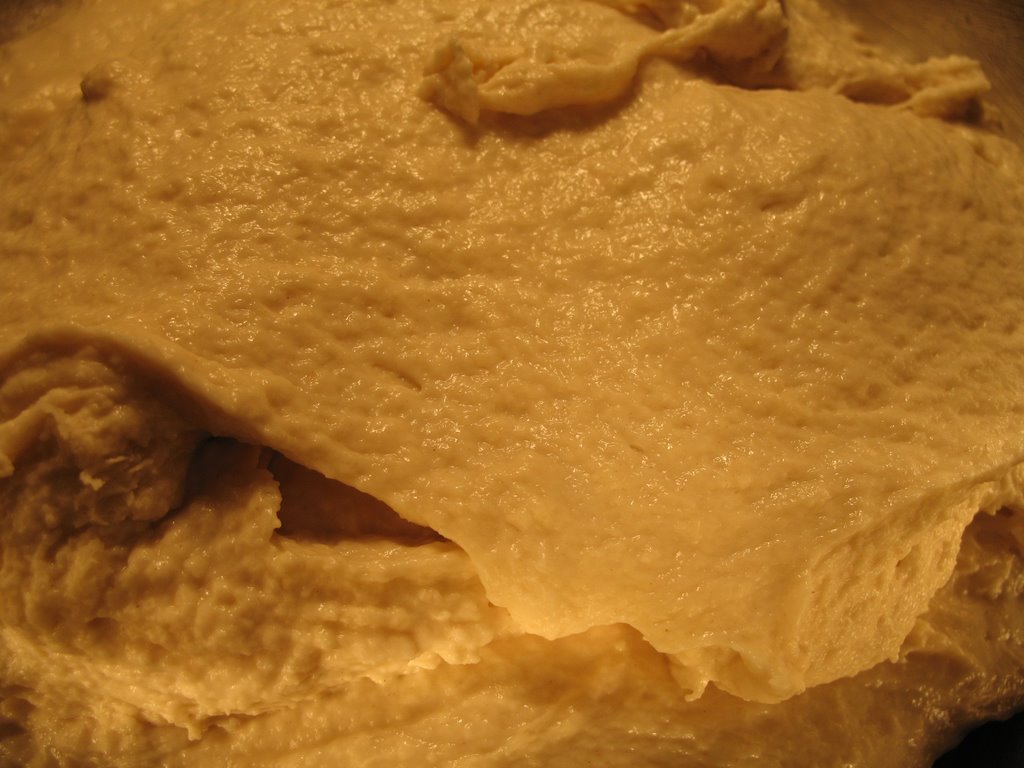
 Remove the bowl with dough from the refrigerator and set it on the counter. Leave the dough at room temperature until it has doubled from its original size (about 2-3 hours). The surface of the dough should look puffy and dimpled. (See photos to the right.)
About 45 minutes to an hour before baking, prepare the oven for baking. Make sure the oven rack is in the middle position. If you have a baking stone, place the stone on the wire rack. Place an empty steam pan (I use an old loaf pan that's seen better days) in the bottom of the oven. Pre-heat the oven to 500 degrees.
Once the dough has doubled, liberally sprinkle the counter with flour--about 1/4 cup initially with another 1/4 cup ready in the wings. Transfer the dough from the bowl to the floured counter. Try to deflate the dough as little as possible. Sprinkle some more flour on top of the dough (not an entire 1/4 cup, but enough so that the top isn't super-sticky). With both hands, stretch and shape the dough into an oval/rectangle about 8 inches long by 6 inches wide. You can sprinkle more flour on if the dough is too sticky to cooperate. Cut the dough in half width-wise with a dough scraper or butter knife. Use the blade as a pincer to pinch the dough in half rather than sawing it in half with repeated cuts. Let the dough relax on the counter for 5 minutes. (This gives the gluten in the dough time to relax and become elastic-y again.)
Lay two sheets of parchment paper on the counter top near your work area.
 With one of the dough pieces, use your dough scraper or butter knife to cut the dough into three equal lengths. As gently as possible, transfer each length to your parchment paper, leaving about three inches of space in between each piece. Stretch each piece to the desired length. (See photo at right.) Repeat with second piece of dough and place onto the second piece of parchment paper.
*Note: Reinhart recommends using a dough scraper dipped in cold water to separate the dough into the three lengths and then well-flouring your hands to do the transferring to the parchment paper. This didn't work so well for me, so I decided that if the scraper could be wet, my hands could be wet too. Washing my hands, shaking off the excess water, and then immediately transferring the pieces worked best for me.
Using a peel or the back of a baking sheet, slide the first set of loaves and parchment paper into the oven on top of your baking stone. (If you don't have a baking stone, leave the dough and parchment paper on top of the baking sheet.) Pour 1 cup of boiling water into the steam pan on the floor of the oven and close the door. After 30 seconds, open the oven door and spritz the inside of the oven with a squirt bottle. Repeat the spritzing twice more and then lower the oven temperature to 475 degrees.
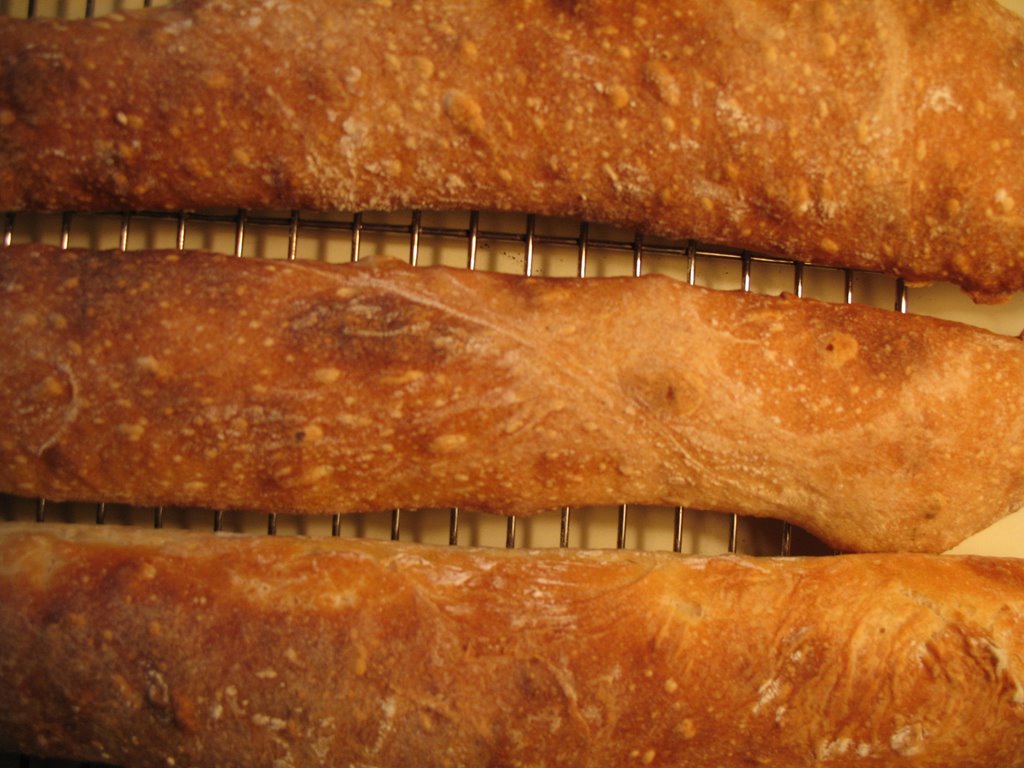 After about 5 minutes, check the loaves. If they aren't browning uniformly, rotate them in the oven. The loaves should cook for a total of 20 to 25 minutes and are done when the crust is a deep golden brown. If you have an instant read thermometer, you can check the internal temperature of the loaves. Internal temperature should be about 205 degrees. (See photo at right. Click on the image to enlarge and see all the detail.) Re-heat oven to 500 degrees again and repeat baking with second set of loaves.
Let cool for about 20 minutes and then dig in! These loaves will keep for a few days if kept in an air-tight container. You can also freeze them (wrapped in Saran wrap and then placed in a freezer-storage ziplock bag) for several months.
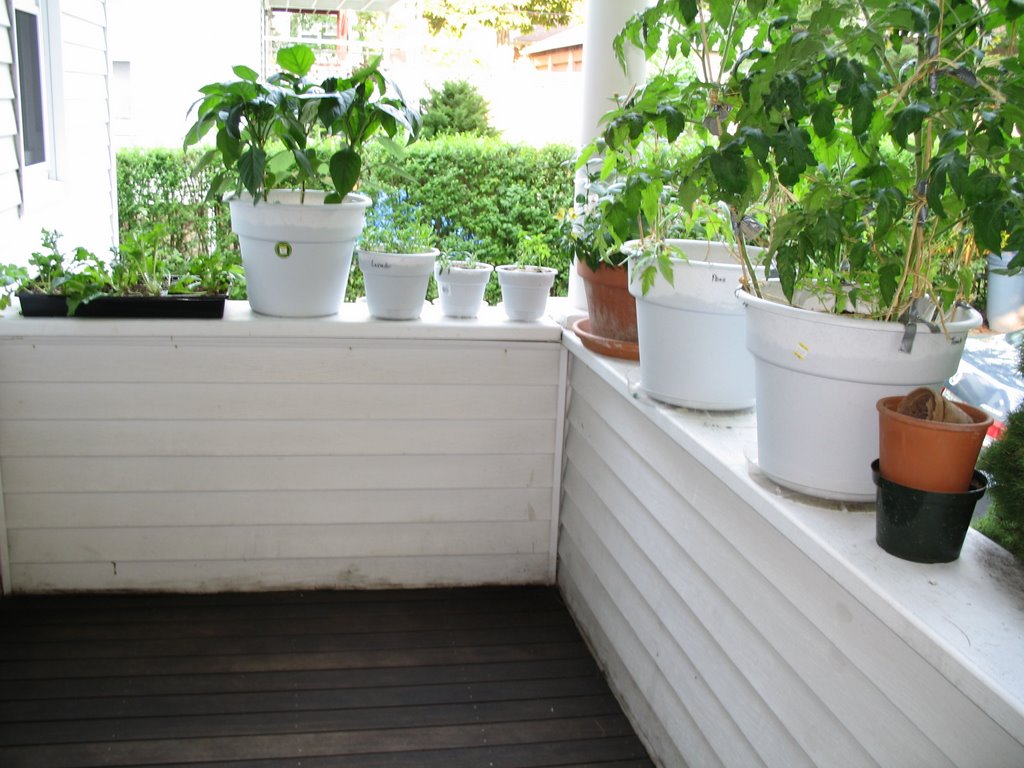
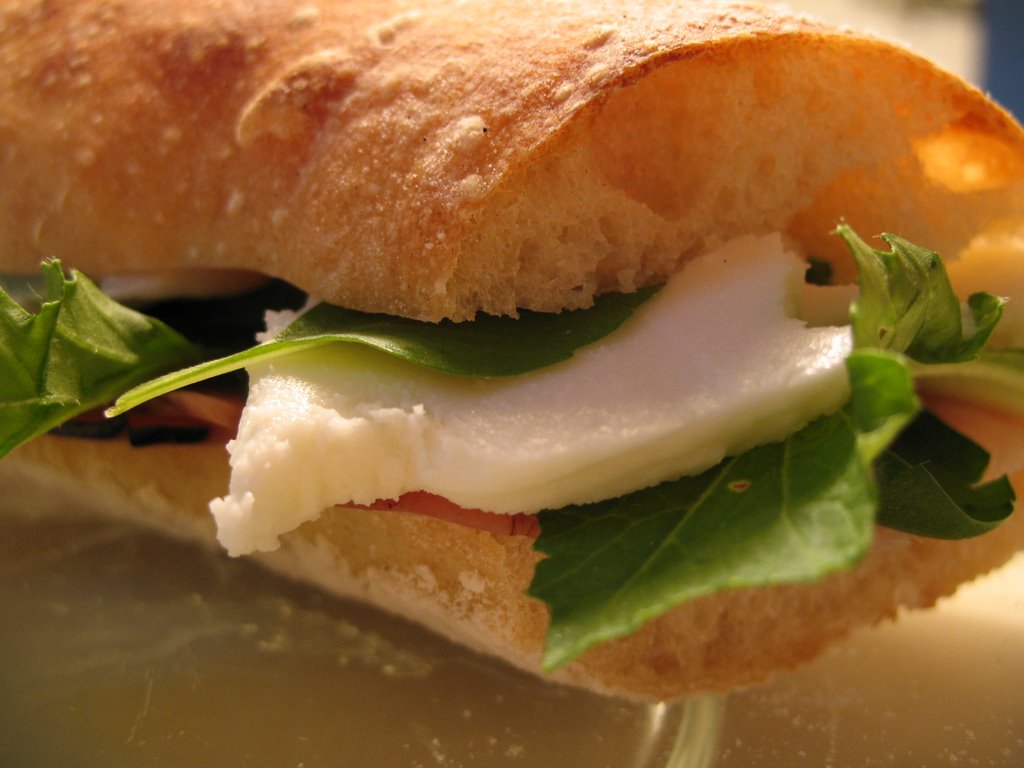 My current favorite sandwich with this bread is honey-smoked ham with slices of fresh mozzarella, topped with greens and basil (from my garden, of course) and Dijon mustard. Mmm, mmm, good!
(For those following the Weight Watcher's plan, 1/2 of one loaf is 4 points before adding any toppings)